Configure your account in PCI Booking
Once your account is set up in PCI Booking, it will be set with the information that you had provided the sales team for initial set up - however, you can change these settings from the User's Portal.
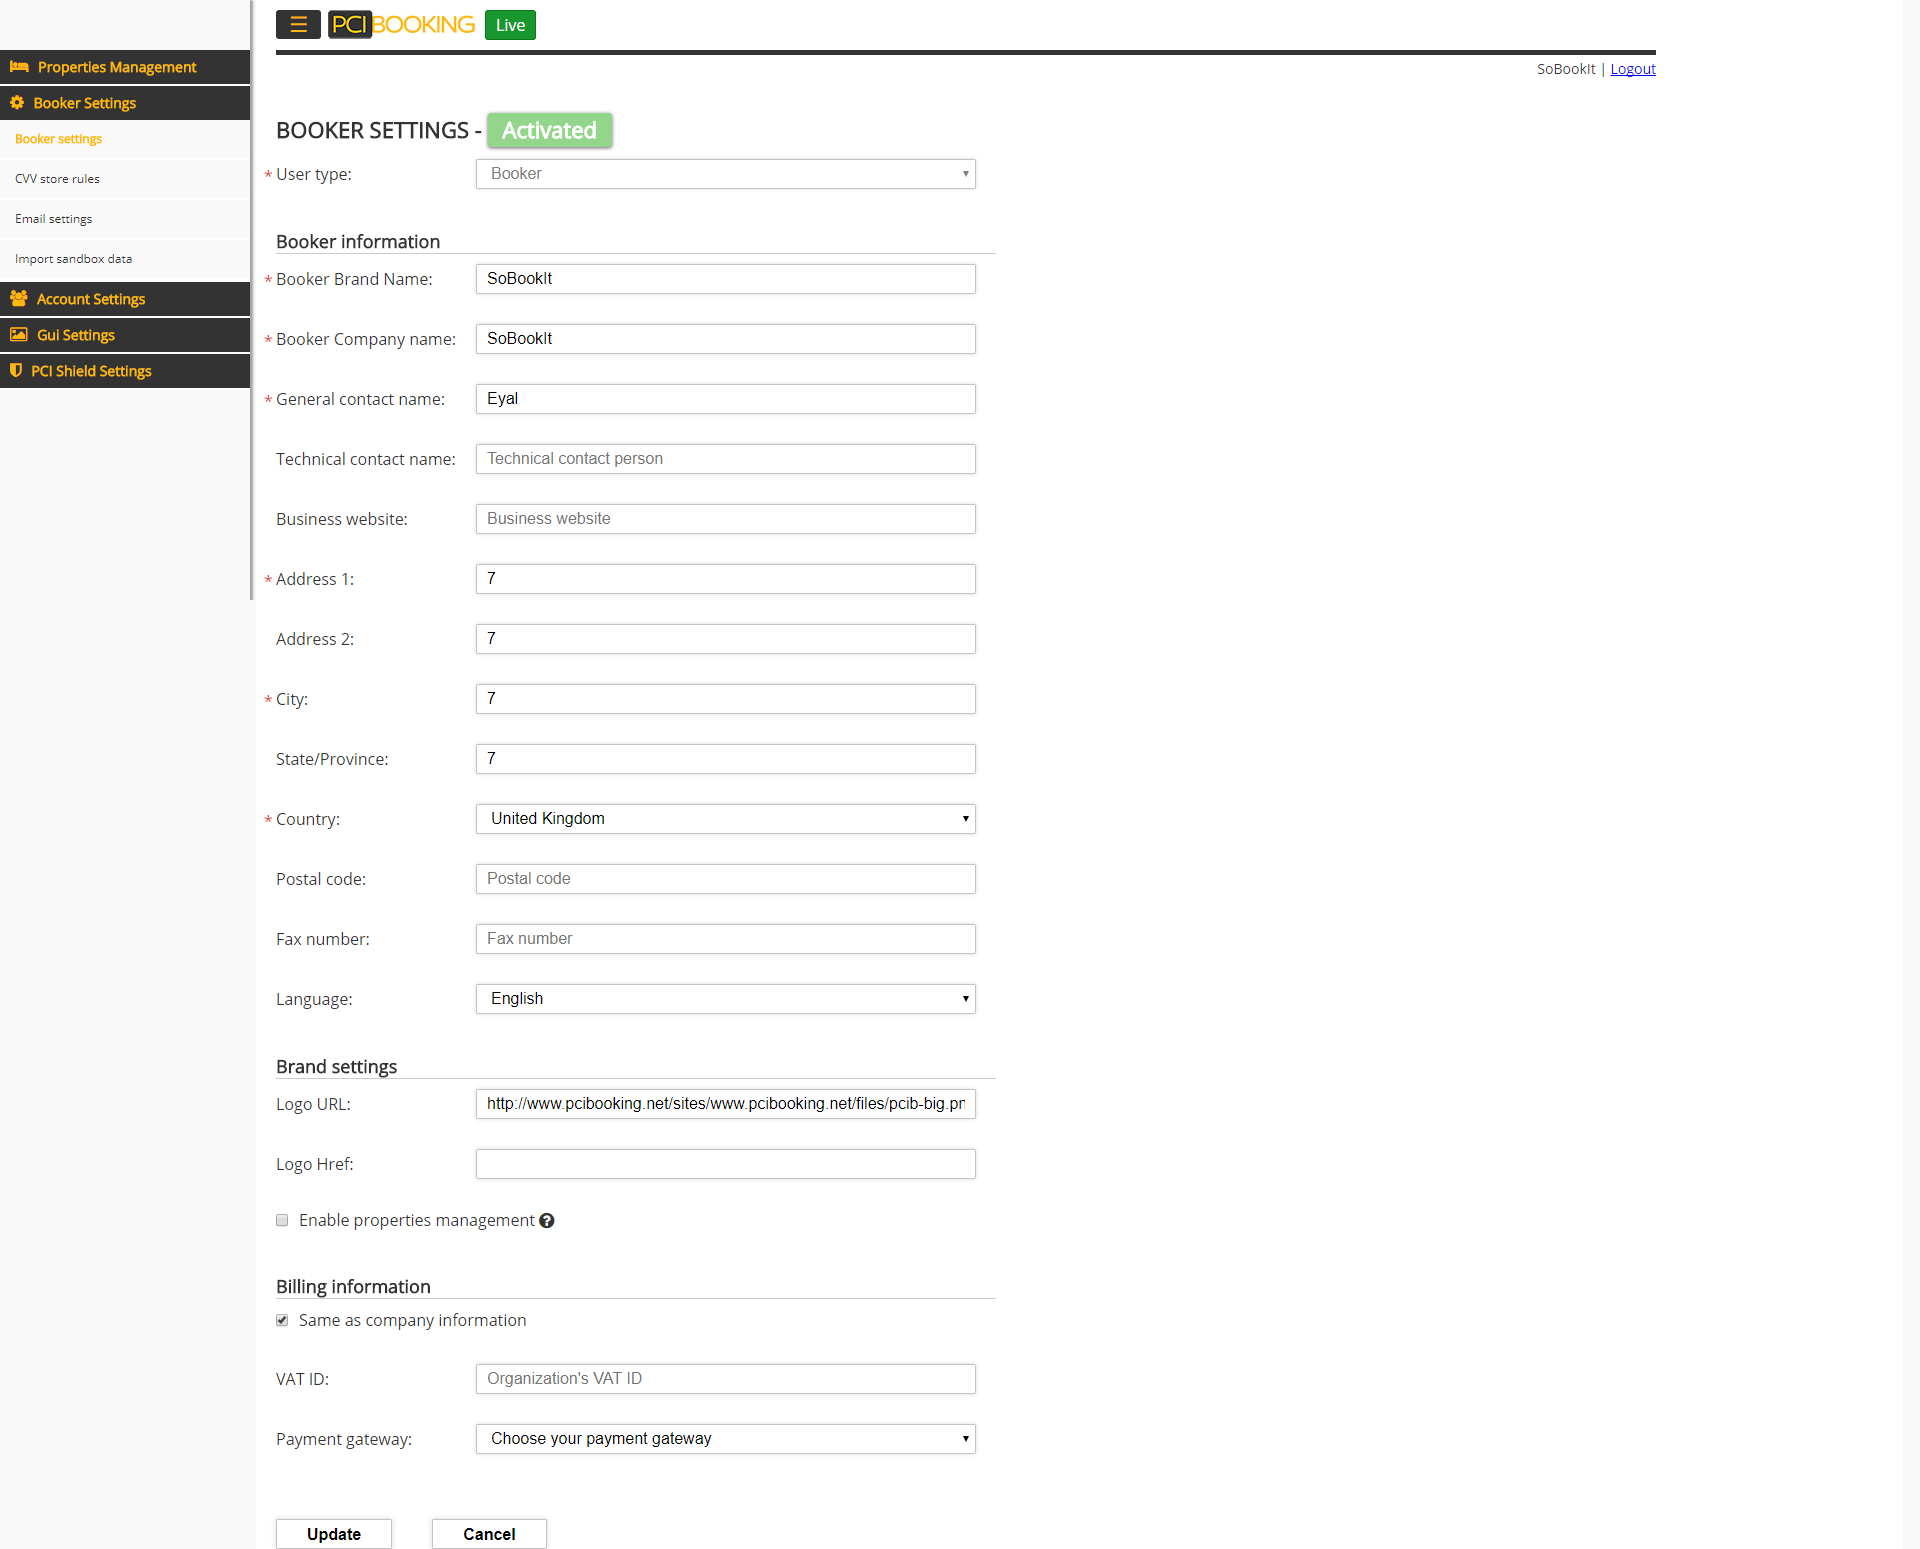
Once logged in to the User's Portal, proceed to the "Booker Settings" tab and select the "Booker Settings" option in the menu bar on the left. The following page will load:

All parameters listed with a red asterisk are required parameters.
This guide will address the non-standard fields within the booker settings:
- Booker Brand Name: The booker brand name is how you identify your booker in several of the methods within PCI Booking API.
- Logo URL: The logo URL should be used only by those who intend to implement either the Fully Branded Portal or the Branded Display Card Form. You should provide the URL to the logo you would like to display in these pages.
- Logo Href: Optionally,you can provide the HREF tag for the logo image. This would be the URL that customers will be directed to if they click on the logo image.
- Enable properties management: Check this checkbox to enable the property management service with in PCI Booking.
Card display iFrame settings:
- Booker site iframe page URL: This is the URL of the site that you manage where your properties visit and where you have implemented the Branded Card Display Iframe.
Fully Branded Portal settings:
- Favicon URL: The URL to the favicon image that will be displayed in the browser tab for this page.
- Primary color: The primary color of the portal. When clicked, a color selection window will appear.
- Alternatively, if the HEX code of the color is known, you can simply enter it in the text box.
- Secondary color: The secondary color of the portal. When clicked, a color selection window will appear.
- Alternatively, if the HEX code of the color is known, you can simply enter it in the text box.
- Secondary color hover: The color of links when hovered over in the portal. When clicked, a color selection window will appear.
- Alternatively, if the HEX code of the color is known, you can simply enter it in the text box.
- Header text color: The text color of the header in the portal. When clicked, a color selection window will appear.
- Alternatively, if the HEX code of the color is known, you can simply enter it in the text box.
- Header text: The header text that will be displayed at the top of the portal.
- Footer link href: Optionally, the booker can add a link as the footer of the portal. This is the URL that customers will be directed to if they click on this link.
- Footer link text: Optionally, the booker can add a link as the footer of the portal. This is the text that will be displayed for this link.
- Footer Text: The booker can add custom text to the footer of the portal. This custom text can be formatted with the rich text box options.
Updated 8 months ago
